Pages

Friday, January 23, 2015

Handmade Playing Card Garland

In a previous post I talked about my class I am offering making Garlands, Banners and Pennants.  Checkout the Paper Doilies Garland I made for Valentines.

My new garland is a little more unusual and might take some hunting for supplies to get a truly unique look.  I took vintage playing cards and strung them face up and face down.  You could stop there and leave your cards undecorated if they were themed cards.  I decided to add some decoration to mine again in the Valentines theme.  This one will be used on my classroom door.  To each card I added paper hearts in different sizes and paper designs.  The white hearts are cut from old chapter books.  To finish off the garland and add a little sparkle I glued small rhinestones to one of the hearts on each card.  The garland turned out really cute.  It will be a nice addition to my classroom door for Valentines.

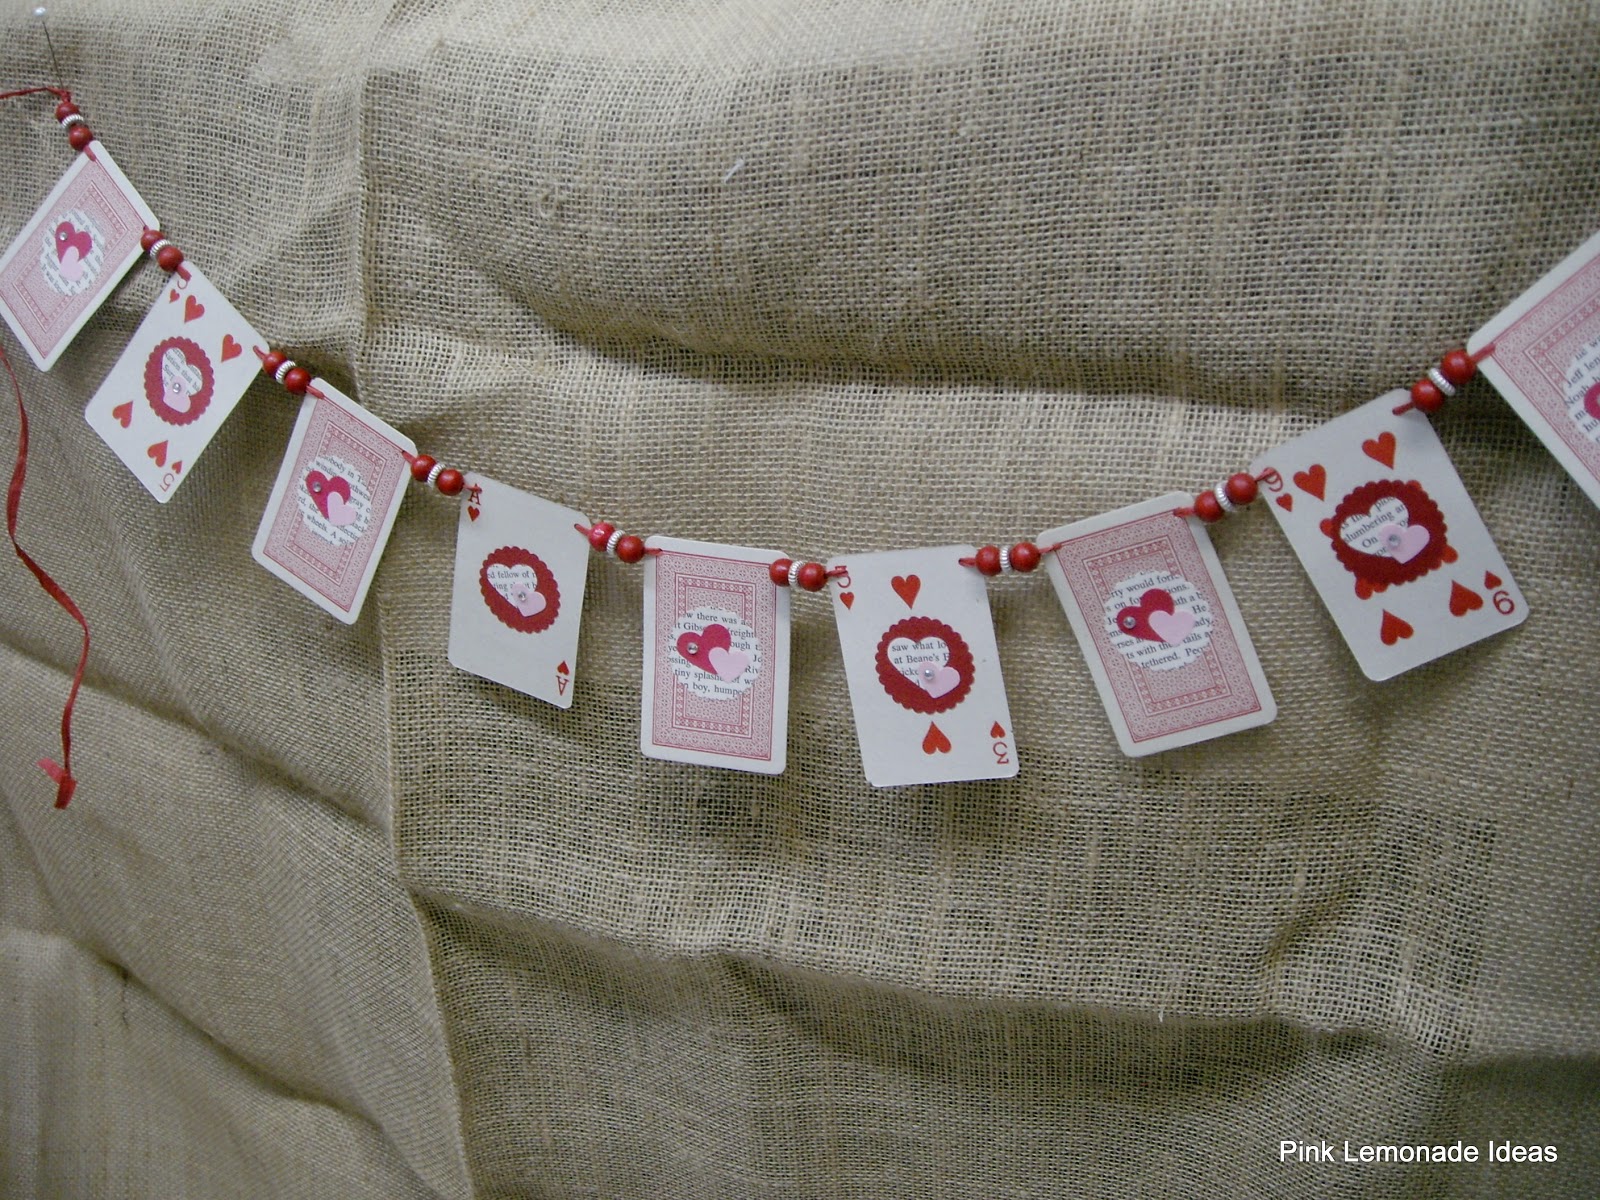
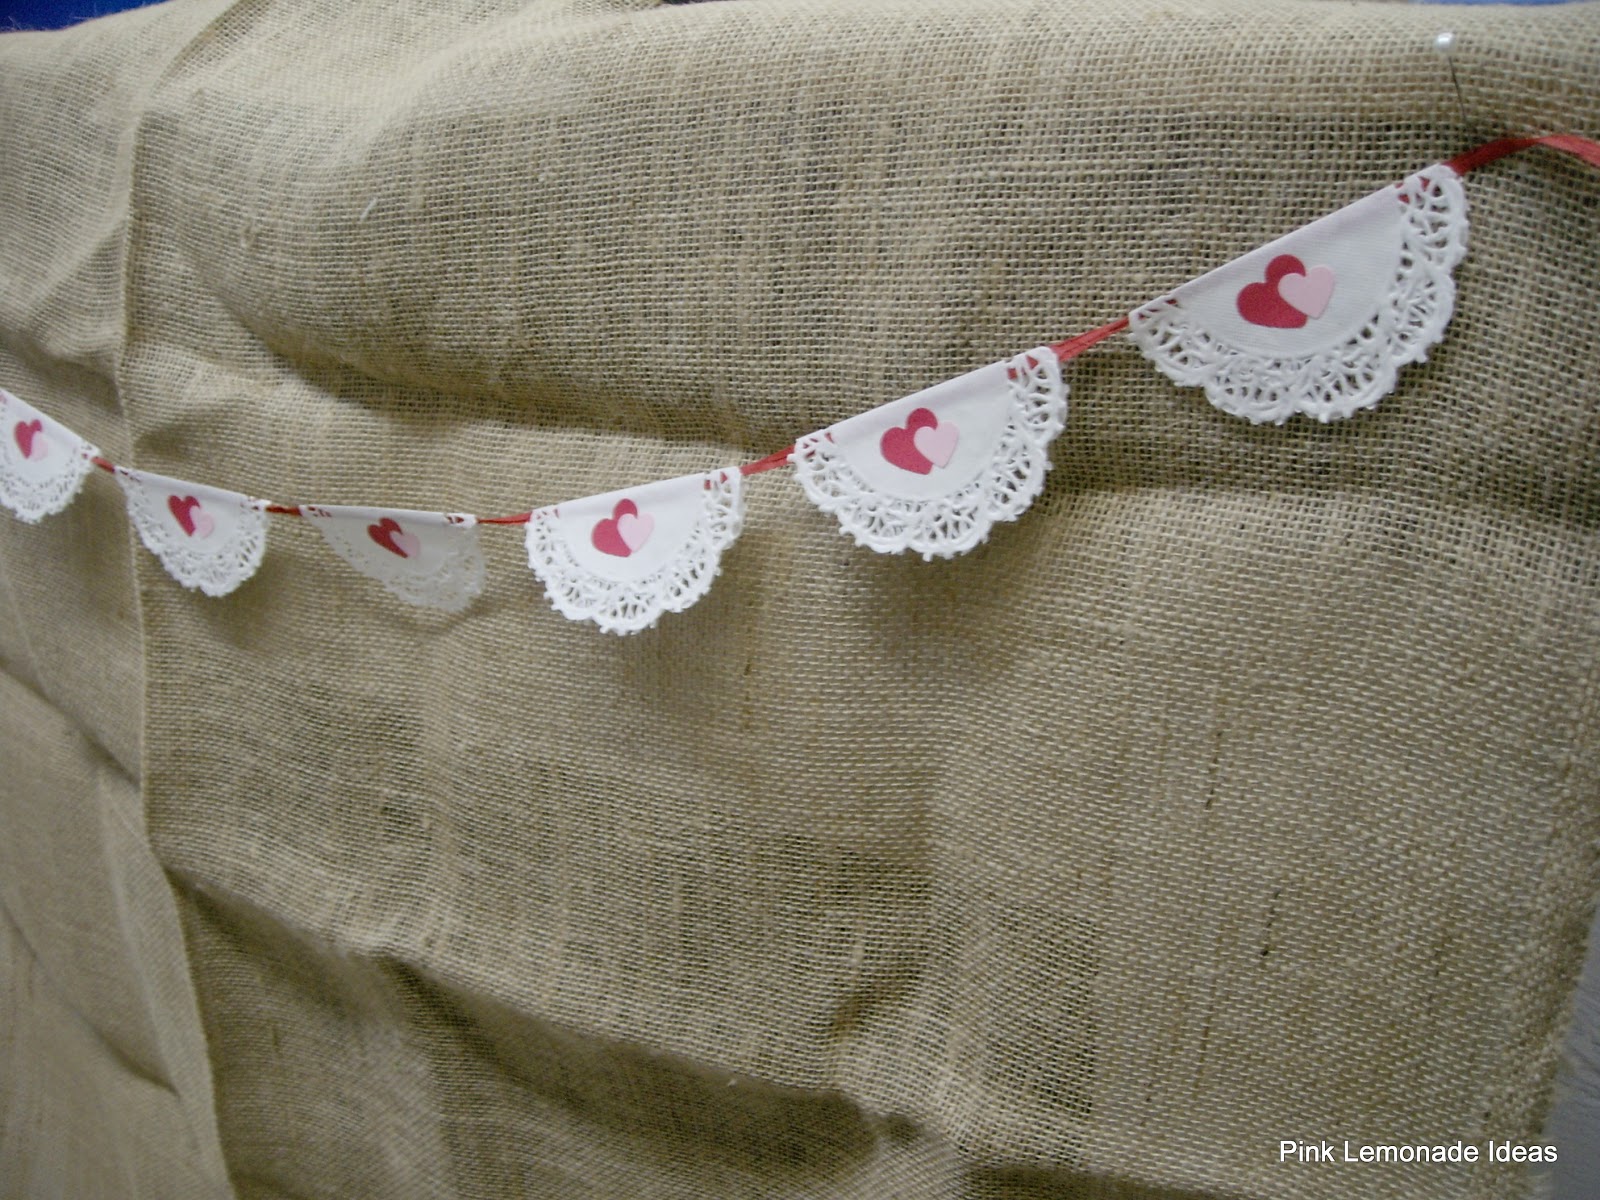
Vintage playing cards
 
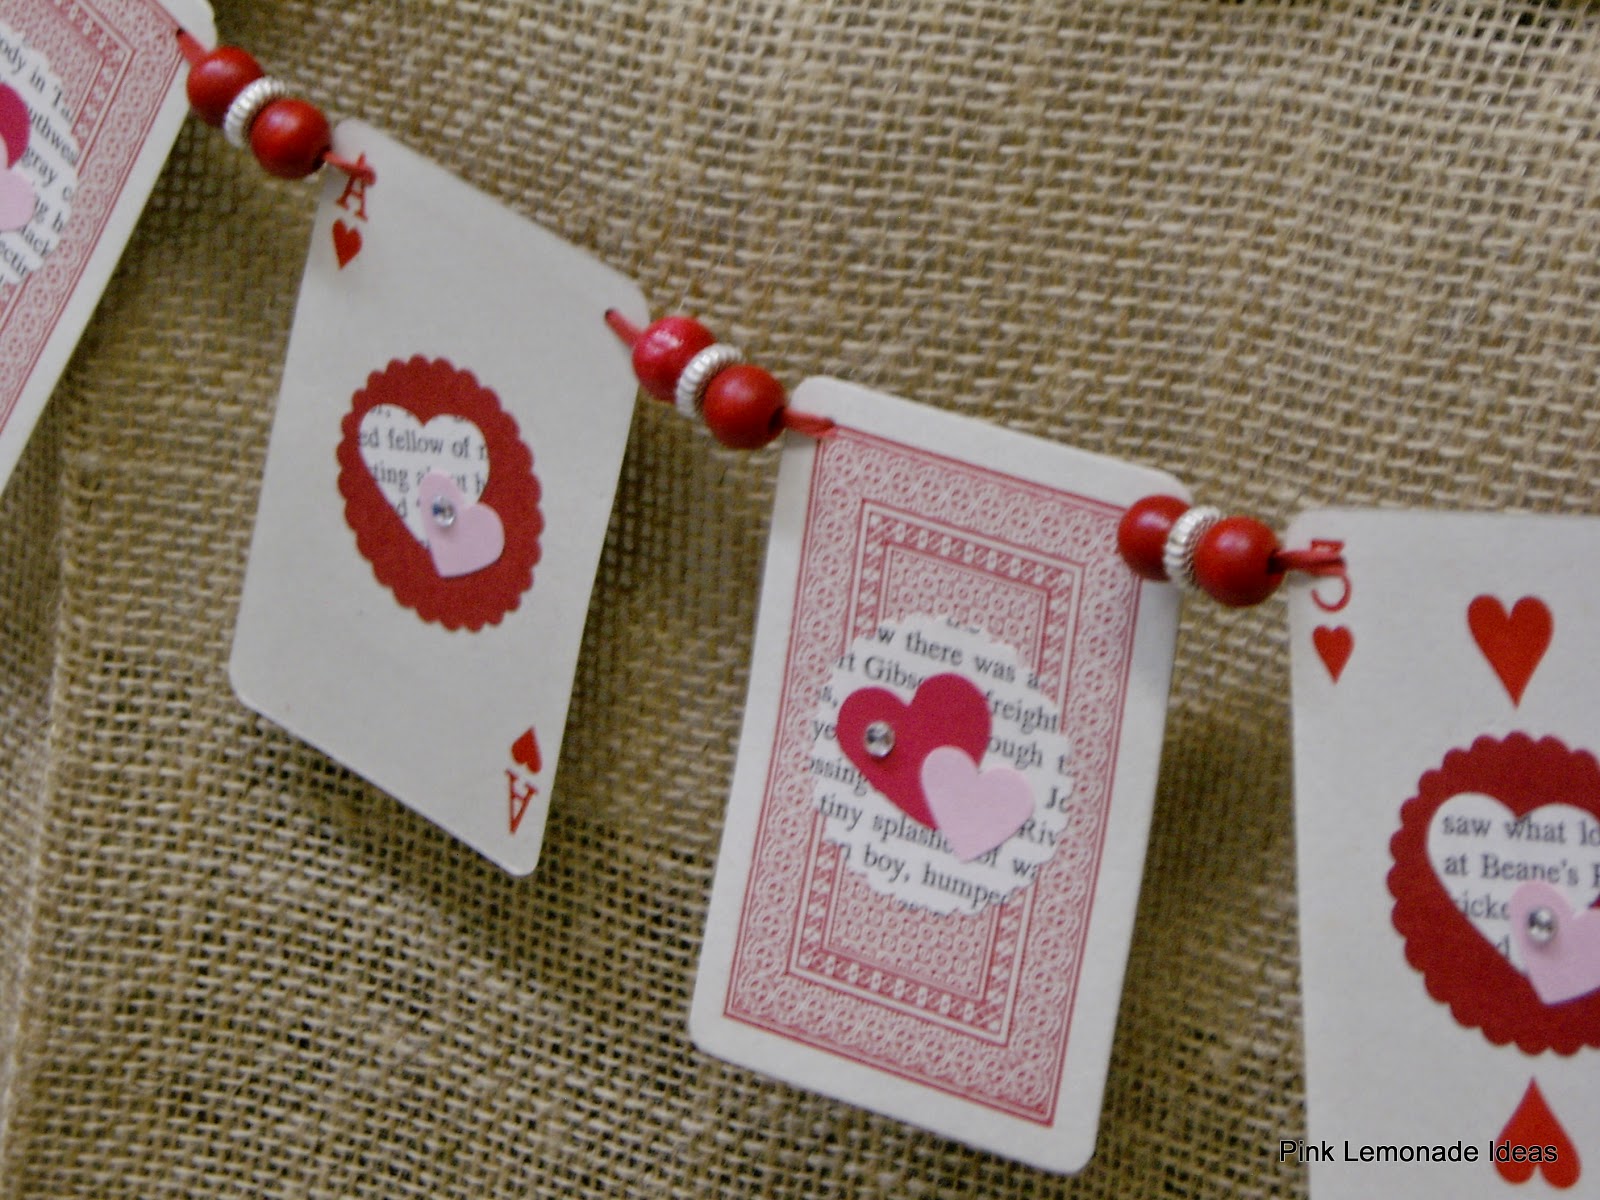
The white hearts and circle are old chapter books

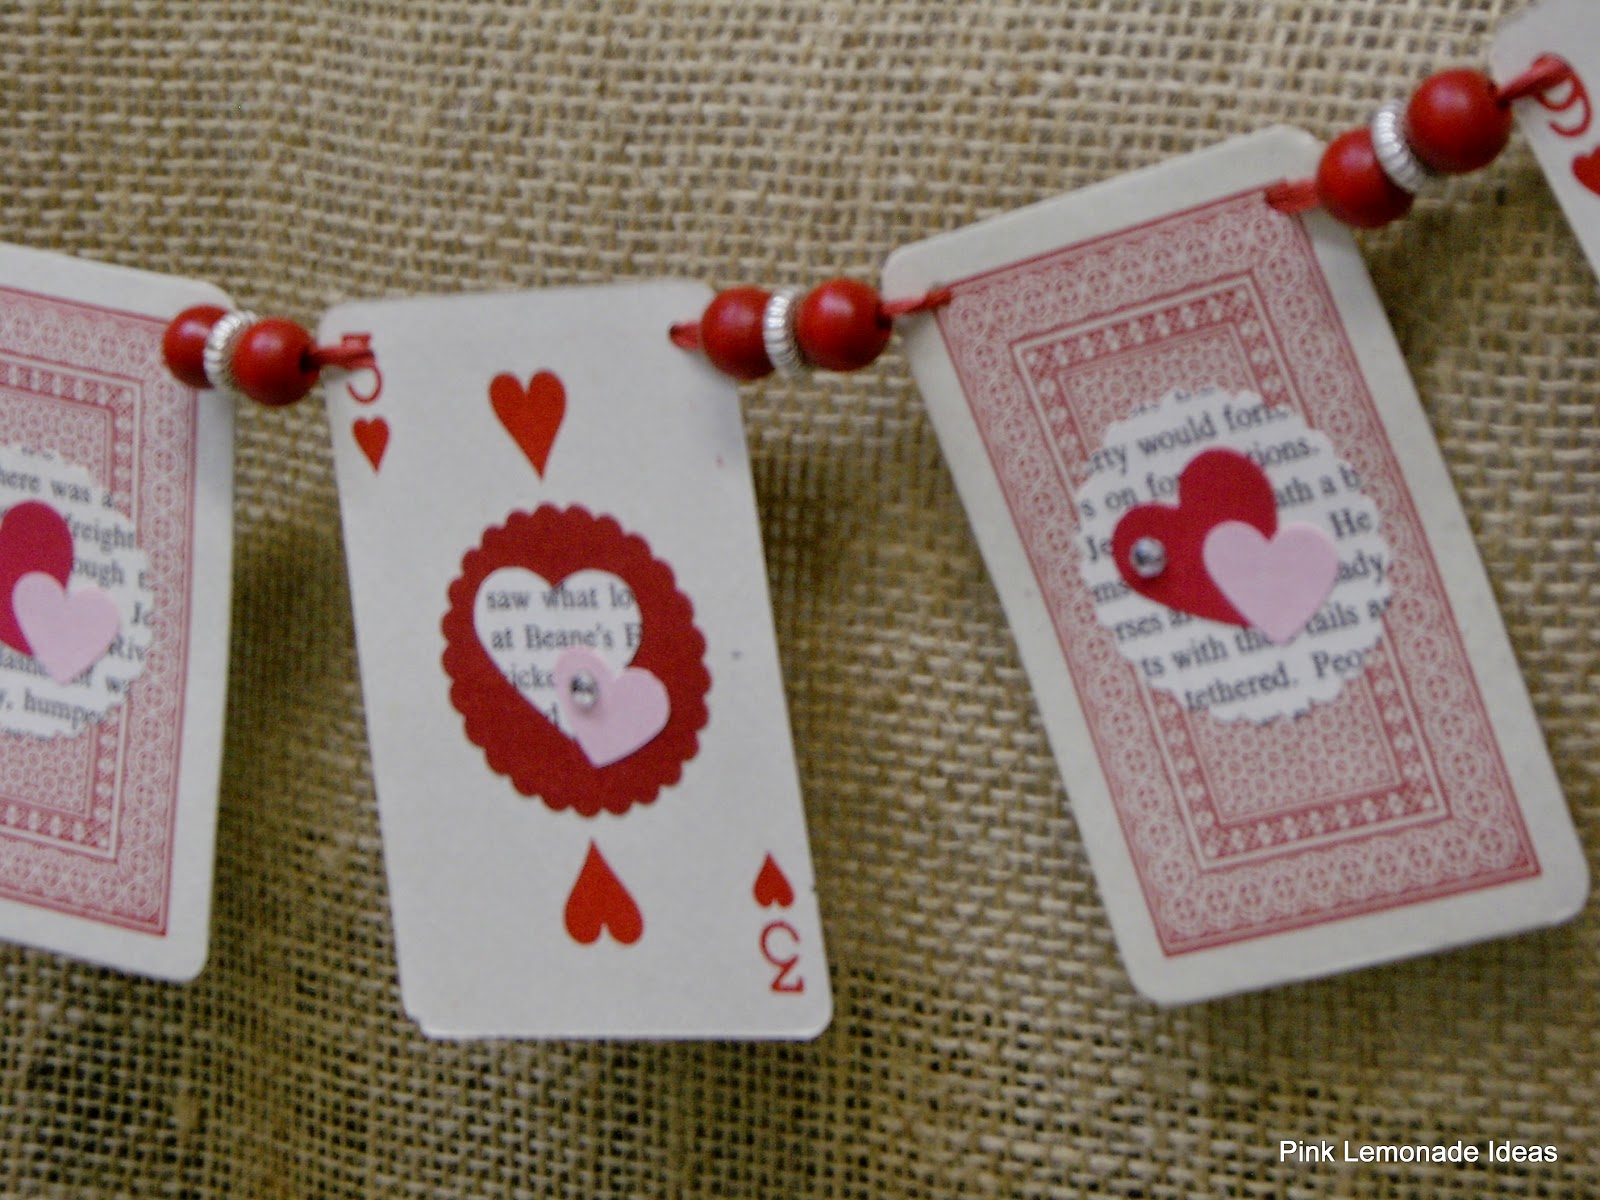
The added rhinestone is a nice amount of sparkle.
 
I bought some Star Trek cards to use as one of my samples but my daughter begged me to give them to her.  I said yes but she had to replace them with a different set of themed cards.  She purchased a set of Tetris game cards and Frozen playing cards.  These have some great ideas brewing in my head.  I also purchased some old games at a flea market to use in my classes.  The games I bought were Pictionary, and one called Probe.  These games have cards and would make great garlands.  The Probe game has cards with letters.  This would be fun to spell out a celebratory greeting or a name for a bedroom wall.  There are lots of games that have cards - Trivial Pursuit, Skip Bo, Uno etc.
 
I bet if you dig around in y our closet you will find some playing cards or old game cards that you can use to spruce up your next party or just add a festive touch to your home décor.
 
Danna

Check out this great link party at Shabby Nest


Thursday, January 22, 2015

Old Cassette Holder turned Small Shelf

Okay, I may be dating myself with this question but that is alright.  How many of you remember cassette tapes?  If you answered "I remember." Do you remember the wooden racks they made to hold those music marvels?  Not many of us still use cassette tapes (my family excluded we have cassettes and vinyl) but the holders still have a purpose.

When I was looking for a small thin shelf to put on my bathroom wall everything I kept finding was too deep.  It was to go on the wall next to my sink and it needed to be fairly thin or I would constantly hit my head on it.  My sister-in-law was getting rid of the wooden cassette holder and as I stood there looking at it the light bulb went on.  That would make a great shelf for my wall if I removed the plastic dividers.  Here is the finished shelf.

An old cassette holder.
 
Sorry I don't have a picture of the holder before the transformation.  To make the shelf I removed the plastic dividers and painted the holder white.  To give it a more decorative feel I glued wall paper to the back of each section.  Adding saw tooth hangers to the back allowed me to hang the shelf very close to the wall.
Wallpaper is glued to the back of each section.
 
The shelf holds all the quick necessary items I need to get dressed in the morning and keeps my vanity drawers from overflowing.  The small shot glasses are from a game we bought at a discount book store and they fit perfectly on the small shelf.  I love the numbers on each glass it just adds a little whimsy.
  
 
If you are in need of a small thin shelf, head to your local thrift store and check out the old cassette holders.  Maybe it will sing the right tune to fit your wall.
 
Danna


I party with Remodelaholic

Tuesday, January 20, 2015

Clear Stamp Storage

Craft supply storage is an ongoing journey through the organizational maze.  I have tried all sorts of ideas for storing stamp supplies.  The rubber stamp pads on wooden blocks work well in a drawer where you can see all the designs in a quick glance.

Clear stamps have proved to be a little more of a challenge.  For a long time I kept mine in the original packaging and stored them lined up in a box.  The problem with this form was that each time I wanted to use the stamp I had to open the package.  The designs were easy to see at a glance but not quick to pull out and use.

I have seen the stamps stored in CD jewel cases and I like this idea but do not have the room for this solution.  I keep all my stamp supplies in a three drawer unit so my storage options are limited.

Then one day I was digging through my supplies and came across an old Altoid tin.  Now these tins are good for an abundance of storage solutions.  So I thought I would see how they worked for clear stamps.  I sorted my stamps by category (i.e. Christmas, flowers, hearts etc.) then cut the plastic apart so the stamps would fit into the tins.

Mint tins are a great storage solution.

Clear and rubber stamps.
 
Now the stamps are easy to whip out, use and go right back into the tin.  The tins line up nicely in the drawers I have and I eventually want to paint the tins and label them for even easier use.  It just goes to show that you never know what simple items can transform your world.  Ask your family and friends to save them for you or enjoy emptying them yourself. At least you will have minty breath.
 
The stamps fit easily in the tins and are sorted by type.

The tins line up nicely in the plastic drawers.
 
Hopefully you have found a workable solution for your stamps, if not, try an old mint tin.  To see some other storage ideas using mint containers check out my previous posts Small Storage Items and Tic Tack Boxes to the Rescue
 
Danna

Monday, January 19, 2015

Paper Doilie Garland

For one of my classes this winter we are making Garlands, Banners and Pennants.  They are fun and festive and can be used for a variety of events or for home décor.  This post will focus on a garland I recently made as a sample for my class.  This garland is made from paper doilies. 

A fun addition to my Valentines décor.
 
Simple doilies create this garland.
 
Simply take the doilies and fold them over the ribbon in half and glue to secure.  Now the fun begins.  You can leave your doilies blank if you desire a simple decoration or you can add some detail to bump it up a notch.
 
To my doilies I added paper die cut hearts since I was making a Valentines themed garland.  You could also add stickers for a kid's themed event, buttons, silk flowers etc.  The possibilities are only confined by your imagination and creativity.  Since the doilies come in packs of 25 - 50 each you can make this garland extremely long for only a small portion of your party budget. 
Go did out those doilies you purchased for all your Christmas parties and add a string of fun to your next event.
 
Danna

Thursday, January 8, 2015

Bathroom Organization - Cotton Balls and Q-tips

I love a house that is organized and efficient. Now I am not saying that my personal home is that way but I try to take baby steps to make it more organized and efficient. One area I have done a few organizational tasks in is my kid’s bathroom.

Their bathroom has a long counter and only one sink. Therefore there is plenty of space for items on the counter. The one area they lack in their bathroom is wall space. The entire area above the counter is a full wall mirror. So putting up small shelves to hold everyday items is not an option.

So, I had to find a solution for items such as cotton balls and Q-tips. I was browsing the isles of the local organization store and came across this plastic holder that had a jar type center with space around it. You put the Q-tips in the jar and the cotton balls around the outside. Wow, that is brilliant I thought but I was not going to pay the almost $20.00 they wanted. Now my hunt was on to figure out a less expensive way to accomplish the same look.

While scouring the Dollar Spot at Target I found a tall shot glass. This would work great to hold the Q-tips. So I made my own version of the jar.


My version of the handy jar.
 
Using the round plastic container we already had I placed the shot glass in the bottom. I secured the shot glass with some candle wax stick so I could remove it later if I wanted to. My jar cost me about $1.25 (since I already had the round jar).
Tall shot glass worked well, I don't think a short glass would.

The Q-tips are in the center and then you stuff
the cotton balls around the outside edge.

What areas of your life have you found clever or knock it off versions to get your life organized? Share a comment below for all to enjoy your efficient life. I'm baby stepping my way to better organization.

Danna


Check out this link party: Flamingtoes

Monday, January 5, 2015

Gag Gift turned into the Favorite Ornament

Happy New Year.  As we begin a new year we all tend to reflect on the last year or years and ponder what the new one holds.  A friend sent me a note recently thanking me for an ornament I made several years ago. Now this ornament was not your typical Christmas decoration in any stretch of the imagination.

I made it for a White Elephant gift exchange for our Sunday School party several years ago.  Our gift exchanges were somewhat quirky but always a lot of fun.  We had the usual bad lamps from someones grandmother's attic that would resurface every year along with the latest As Seen on TV items.  This particular year my daughter had just cleaned out her room and was going through all of her Barbie stuff.  So I took all of the leftover Barbie shoes and started my quest to create the perfect gag gift. Here is the finished product.

Barbie shoes pinned to a wire frame from a light set.
 
I was shocked that she still had the ornament.  She was thanking me because her five granddaughters were thrilled with the ornament and loved moving it around the tree all through the holidays.  It just goes to show that you never know how your creative talents will be appreciated.  What I created as a gag gift turned out to be a beloved favorite.  I hope that the year 2015 will provide you the opportunity to set yourself free and create.  You might be surprised in the years to come about how someone appreciates your talents.  Join me as we begin a new year of crafting adventures by following this blog.  Be sure to post your creations and ideas in a comment for all to share.  So whether it is a new technique you have been waiting to try or just something to fill a need go GET CREATIVE in 2015!
 
Danna