Pages

Sunday, November 30, 2014

Christmas Countdown 2014 - Bath Salts #25

In all the holiday rush and stress it is nice to give someone a small gift to remind them to slow down and take time to relax.  Homemade bath salts are a great gift and simple to make.  The packaging is what takes the gift to the next level.

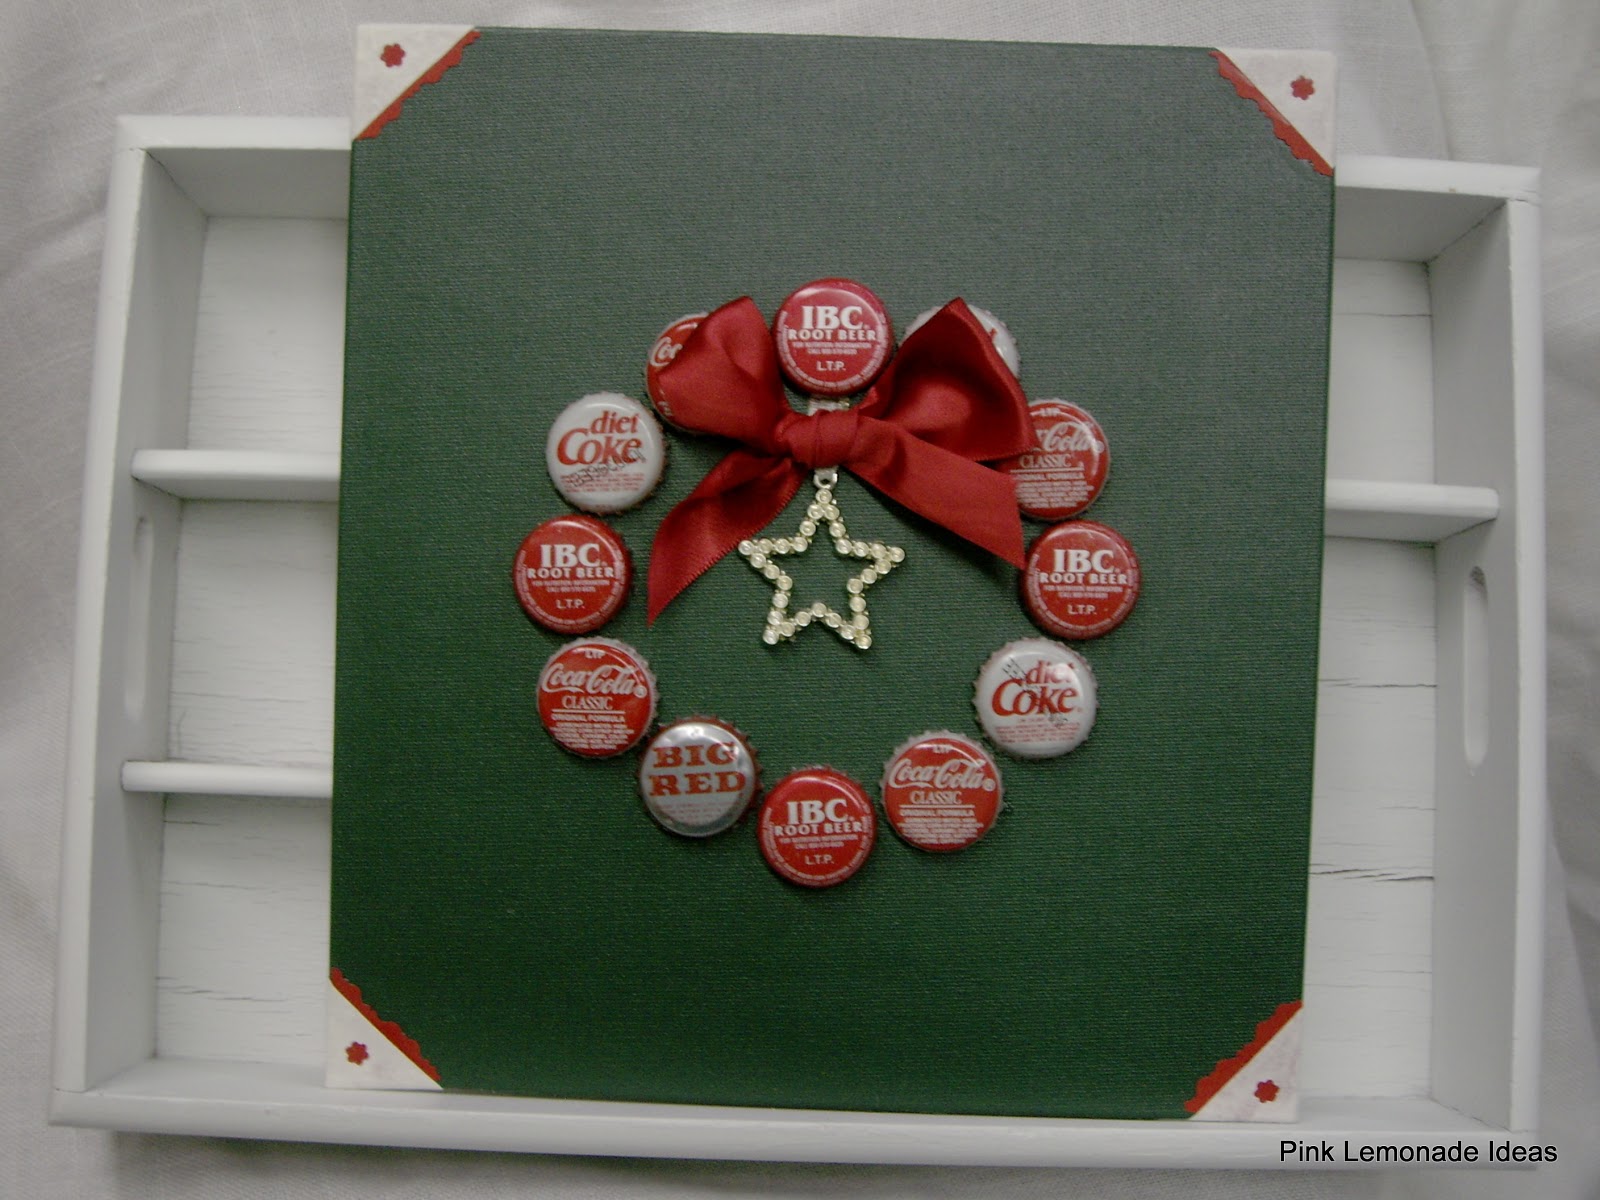
If you are looking for a gift that is inexpensive to make for a large group like teachers, coworkers etc.  This is the gift for you. 

Small jars work well for bath salts.
 
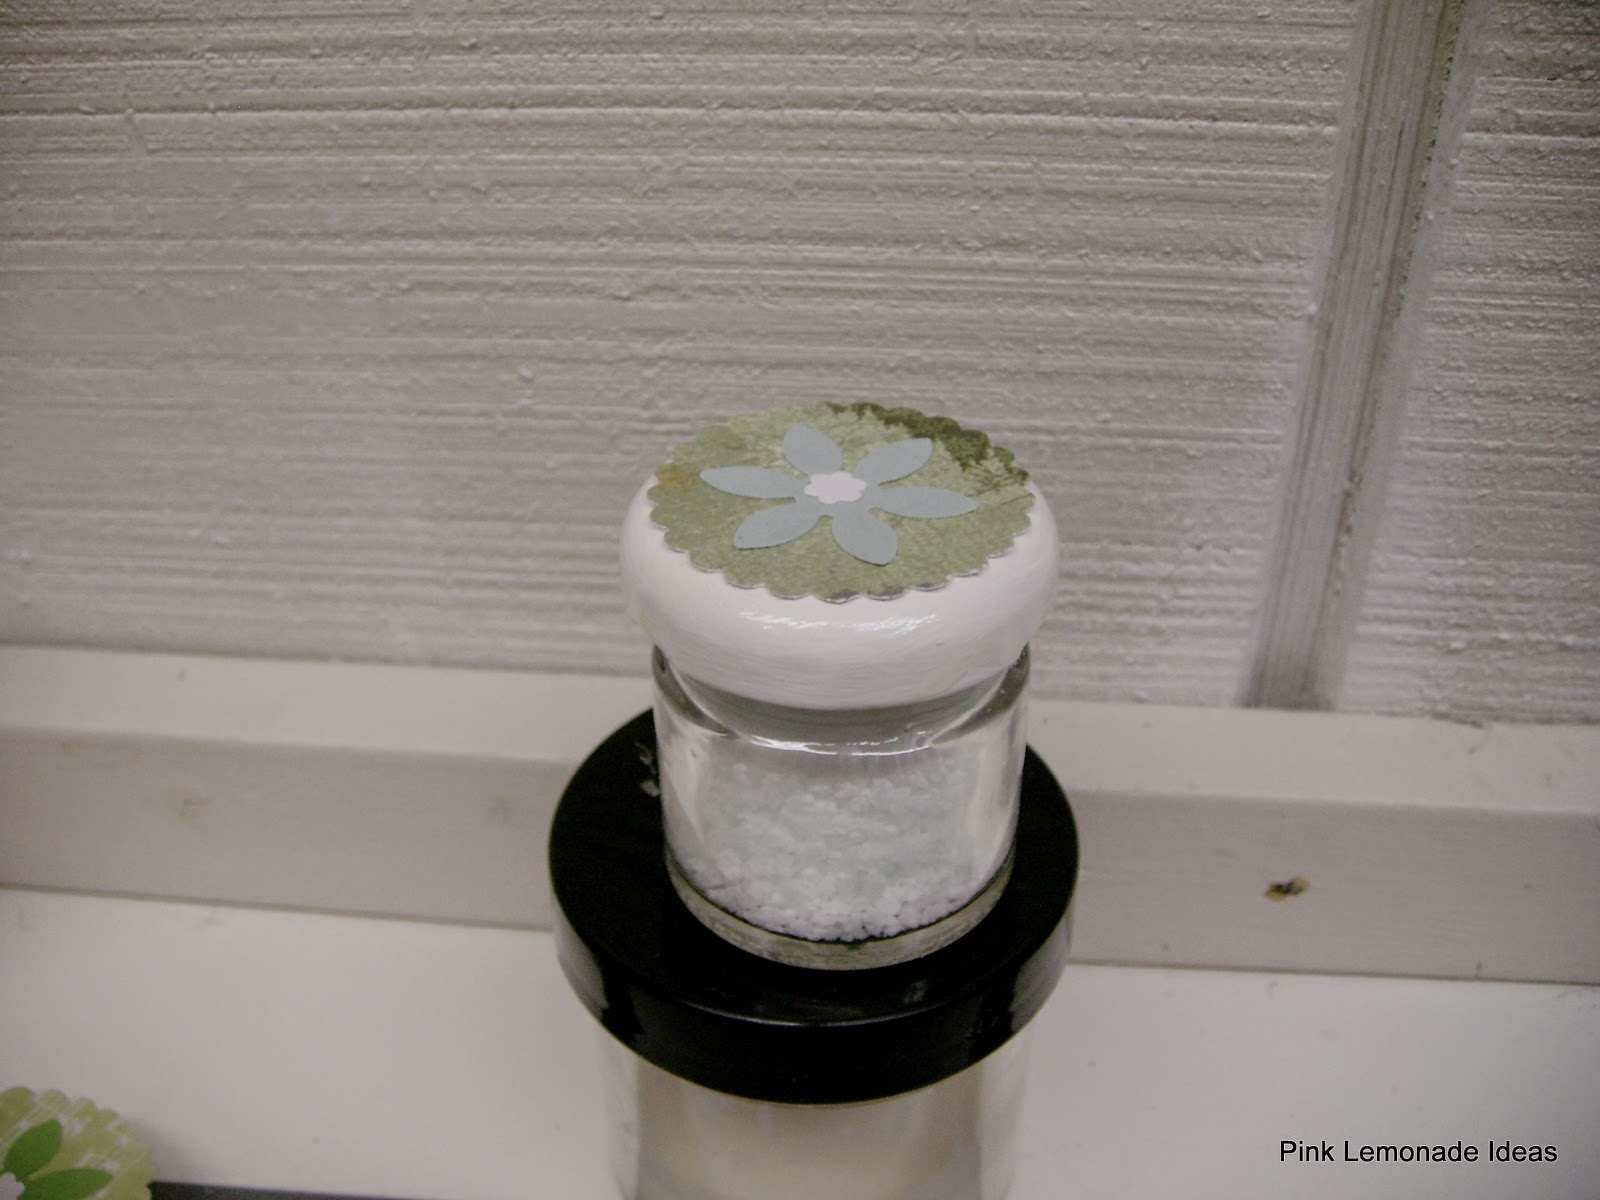
Bath salt is made from Epsom salt with a fragrant oil added.  It takes only a few drops (5 - 7) of the scented oil to add fragrance to a large bowl of Epsom salt.  I used scented soap oil but you can use any essential oil that is safe for skin contact. 
 
Gather all of the small jars, glass works best, that you can find.  I used a collection of small jelly jars I had on hand.  The small syrup jars from Cracker Barrel work well also, and most of the time if you ask the management they will save them for you.  You will have to wash them but it is an easy way to get a bunch in a short amount of time.  My local Cracker Barrel was very generous when I needed a large collection for a ladies luncheon at church. Any size jar will work just make sure it seals well.
 
Once you have collected your containers figure out a cute way to decorate them.  I painted the lids and glued a paper punched circle with a die cut in the middle to the top of each lid.
 

The punched circles and die cuts were made from scrap paper. 

Just adding the punched paper on top really dressed up these little jars.
 
The last step is to wrap the jars.  I used bags from the dollar store and filled them with shredded book pages as a filler around the jars.  Next I added a cute tag that says "just for you" and another die cut.


Here is my finished bag.

I used silver ink to stamp the words so it was subtle. 
The snowflake has a glittered center I added.

Here is another use for the extra pages of the book you took the covers from in the previous project.  Simply run them through your paper shredder and then add them to the gift bags.
 
We all need to remember this time of year it is not the size of the gift that counts.  It is the fact that we spent our time and thoughts on the person.  So remember it really is the thought that counts.  Only 25 days left until Christmas.
 
Danna

Saturday, November 29, 2014

Christmas Countdown 2014 - Christmas Signs #26

Spreading some holiday cheer can come in many forms.  Nothing says Christmas time like decorated trees, lights glowing in the night and a crispness in the air.  But, sometimes your holiday sentiment can be a simple sign you hang on your door or wall.

Holiday signs can come in many sizes with all kinds of sayings.  I personally appreciate the simple reminder of Joy, Noel or a just a wreath.  To create your greeting you can us an abundance of formats.  Recently I started teaching a class on making a Book Cover Sign using discarded hardback book covers.  Below are some ideas I used to share my Christmas cheer.

The colors in this sign remind me of the crisp winter air.

JOY - who doesn't need more joy in their life?

Do you believe?

Using up old bottle caps in a unique way.

A simple Christmas greeting.
 
 
For a more detailed description of how to make the book cover signs see Book Cover Sign How To.  Most of the items used to decorate these signs can be found easily.  I used old book pages as the paper for the blue NOEL sign and bottle caps for the wreath, buttons and lace for the JOY and white card stock for the deer. 
 
Old book pages cut out and decorated.

Buttons on only the bottom half of the letters really anchor them.

This was in a package of Christmas buttons and embellishments.

Another Christmas button with the shank removed.

Old bottle caps and the best part you get to drink all the sodas first.
 
If you are looking for a new decoration this year for your door or wall start digging around in your old books and decorate a cover.  Only 26 days until Christmas.
 
Danna
 

Friday, November 28, 2014

Christmas Countdown 2014 - Gift Tag Kits #27

As I begin thinking about Christmas Countdown for 2014 I decided it would be good to start a little earlier this year.  So, Black Friday seemed to be the logical place to begin.  I hope you and your family took time yesterday to give thanks for all the blessings you have and to spend time with each other.  Sometimes it seems like we skip over Thanksgiving in our rush to prepare for Christmas.  I want to challenge you this year to take lots of time to enjoy your family and friends and not stress over the holiday preparations.

My first Christmas Countdown idea is a simple one.  If you have friends that like to craft but don't take the time, give them a craft kit that has all the supplies for a quick craft.  I made these Gift Tag Kits to put in goody bags for my Craft Classes to Go.  They are simple to make and are something everyone can use.  Who doesn't need an extra gift tag this time of year.

These make a great gift for any age.

Each kit includes 4 tags.
 
The tags were made using a punch from Christmas card stock.  Then I added simple themed punches, strips of paper and twine. I packaged them in clear plastic bags from the dollar store and topped them with cardstock.  To see some additional ideas of items to include in the bags check out the tags from last years Christmas Countdown 18 days left!  
 
A bonus from these kits is each tag will be different because each person will put them together in a different way.  So spark some creativity in your family and friends this year by giving them a gift tag kit.  Oh, by the way only 27 days until Christmas.
 
Danna

Wednesday, November 12, 2014

Book Cover Sign - How To

In the previous post Fall Book Cover Signs  I posted about using discarded library books in some new creations.  This post will give a detailed description of the process I used.  Here are the signs I made for Fall.

The rich colors in the sign would be warm welcome anywhere.

A great reminder to always give thanks for all of your many blessings.
 
For the Welcome sign I used dyed coffee filters and diluted glue to secure them to the book cover to create a rich background for the sign.
 

The dyed coffee filters were in the recycle bin and I snagged them. 
Someone had cut out leaves for a bulletin board.  I bet the leaves were beautiful.

To dye the coffee filters you take washable markers, color the filter and then spritz with water to let the colors run and bleed together.  The colored effect of these was beautiful.

Using regular white glue diluted with water I glued the filters to the painted book cover.
 
Before gluing the filters to the book cover I painted it first.  Since the cover was a newer one and had no texture I thought it would allow the filters to adhere better.  I also tore the filters so they would have a softer looking edge.  I extended the filters past the edge of the book cover so I could wrap them around to give a nice finished edge to the sign.
 

Wrapping the filters to the back provided a nice finished edge.

The coffee filters did bleed slightly since they were done with washable makers. 
Once I finished I put a sealer coat on the filters.
 
Once the background was finished I glued my scrabble tiles in the pattern to welcome family, friends and guests. 
 

I started with the word WELCOME in the center and built the other words off of it just like a scrabble game.

The ribbon is glued to the back at the top and bottom and the center. 
The flowers were a scrapbook embellishment.
 
The other GIVE THANKS sign was made on a book cover that was textured.  I did not have to paint the cover since the color and texture was nice looking.


The wooden leaves were covered with the same coffee filters as above. 
I painted the edges with a gold sharpie.
 
Adding a polka dot bow was the perfect finishing touch.

The overall look of these signs is really eye catching.  Just by using someone else's leftovers before they went into the trash provided the perfect palette for some really cool signs.  So, let your "trash" or leftovers be your next inspiration.
 
Danna
 

Monday, November 10, 2014

Fall Book Cover Signs

If you have been following this blog you will have noticed that I am a frugal crafter.  I love the idea of using something that is destined for the trash bin to create a fun and new item.  The idea of creations using discarded library books came from the desire for a door decoration for my classroom.  See the original post here Spring is Here!.  I also used picture books to create a different look here Picture Book Pennants.  This one still makes me smile every time I see her window.

Since I had used some of the books to make the pennants there was a stack of book covers that were destined for the trash if I did not figure out something to do with them.  So the ideas began to roll around in my head and I settled on making book cover signs.  The book cover is the "board" that the signs are created on.

Here are a few that I made in a Fall theme.

I will post soon how to make this beautiful background.

The above picture shows the true coloring of this sign but was a little blurry.

The green of this sign is the original color of the book.  I did not paint or cover it at all.
 
The basic steps to making a book cover sign are fairly easy.  Some of the process can take more time than others.  I will post a more detailed description of the process at a later time.
 
These signs will make a great addition to any place you want to show your greetings or sentiments.  So the next time you are working on a project stop and think about what could be done with the leftovers before you throw them away.
 
Danna

Sunday, November 9, 2014

More Free Motion Quilting Practice

Quilting is one of my favorite passions.  But in the past I have been very predictable in the quilting patterns I used.  It has always been the easy route of straight lines, stitch in the ditch etc.  But lately I have begun to branch out a little more in my free motion quilting practice. 

A friend gave me several wall hangings that she had pieced but not quilted.  She was cleaning out her stash and wanted them to go to a good home that would finish the projects.  This particular wall hanging is a fall tablescape of pumpkins, gourds etc.  So while I was trying to decide how to quilt the piece I decided to give it a little bit more of a modern feel using some free motion fabric painting if you will.

Here is the finished wall hanging.
 

The first step was to secure the center of the wall hanging by stitching the pumpkin.  I decided to do simple lines running the direction of curved lines on the pumpkin.  This was a quick stitch. 
The stitching was done in a continuous formation.
 

After securing the center with the pumpkin I did a circular motion around the dots on the bowl.  I did not worry about crossing over my stitch since I wanted a free form to the stitching.  Once this was stitched I moved onto the flowers and gourds.

On the flowers I did a circular motion starting from the center and worked my way out.  On the large flower I used the shape as my design guide.  For the stems I stitched down and back up to create a dimensional effect.

The flowers were stitched from the center out.


A simple outline of the leaves added just the right amount of detail.

On the leaves and stems it was up and down the printed lines.
 
After these were all finished I moved to the gourds.  The large orange and green gourd did not have much detail printed onto the fabric.  I decided it needed a little more of a straight line approach to emphasize the width of the gourd.  So I went across and then made an angular turn at the other end. 
 

The stitching emphasized the width of the gourd.
 
The last piece was the most fun - the corn.  I wanted something on the cob part that would bring out the kernel design.  I did a tight swirl pattern all around the cob section.  Then for the stalks I stitched straight lines up and down with a turn at the top for the stalk section that is folded over.  The corn turned out really well and added just the right touch to the piece.
 

The swirled stitching reminded me of pop corn.

The straight lines brought out the strings in the corn stalks.
 
Over all the piece turned out really well.  I must admit that free motion quilting sometimes intimidates me and I don't feel like I do it well.  But allowing myself to "play" on this piece has given me a little more confidence in trying some new things.  I hope you will be inspired to try something new in your free motion quilting journey.
 
Danna

Wednesday, November 5, 2014

A Gift for my Mom!

This October my Mom celebrated 75 years of life.  We gathered as a family to celebrate her life and the joy she brings to ours.  Sometimes it is hard to find a gift for my mom but I know she always loves a new plant for her yard.

Since this was a milestone year I wanted something that could be used as a centerpiece for the table and then be planted in the yard.  Deciding on the plant was the easy part -- a yellow mum.  The next step was to find something pretty yet simple to put the pot in for the day.

So I found the only thing in my house that would hold the potted plant and still leave plenty of room on the table for guests to enjoy their meal.  The only container I had was a butter dish. 

I did consider leaving the container alone since it was my mom's favorite color.
But I decided I better do a little something to dress it up.


I painted the container an off white with acrylic craft paint.  It took several coats to cover the logo but didn't take too long to finish.

I did not bother to paint the bottom. 
I was fairly certain no one would turn the container over to see what it was.

This is the color of paint I used.  It did take several coats to cover the logo.
 
Next I wanted something to add a little bit more design.  I tried ribbon, raffia and several other ideas before settling on paper doilies and paper flowers.  I glued a paper doily to each side of the container and then glued a yellow paper flower in the center.
 
Simple paper doilies and paper flowers glued in the center.
 
 
It turned out really nice.
 
  My mom prefers things that are simple yet pretty.  This container with the yellow mums fit the bill nicely.  It was a fun day celebrating the best mom in the world.  I am glad she is mine.


So the next time you need a container for a potted plant, start digging around for those old butter dishes.  With a little paint and paper you can transform it into a nice table centerpiece.

Danna

Sunday, November 2, 2014

New Fall Decor

Well for some in the country Fall is in the air.  In Texas we don't usually feel like Fall until about December 1st.  But since it is that time of year somewhere it was time to change over my living room décor.  So a few weeks ago I pulled out all my Fall decorations and began the transformation.

On my mantel I used the same tiles from last year with one slight change.  I colored the letters this year with a gold sharpie so they would show up in a muted way.  To see what I did with them last year click this link Fall is in the Air!  I thought that the subtle lettering would make a nice backdrop for my new owls I have collected. 

My mantel for Fall 2014.  The wooden shudders are just leaning against the wall.

These are a few of my new owls.  I found these at Cracker Barrel they are salt and pepper shakers.
 I like the fact that they are small.
 
To color the letters of the tiles I placed the letters onto a plastic baggie and then colored the contact paper letter with a gold sharpie. 
 
After letting them dry for a few minutes I placed them back onto the tiles. The subtle shading added just the right touch for a different look.
 
The tricky part was not stretching the letters out. 
I was able to reuse the same letters from last years mantel.
 
In the center of the mantel I placed the angel a very good friend gave me as a going away gift.  Every time I see the angel it reminds me of all the love and laughter my friend and I share.
 

The soft coloring of the angel allows me to use her year round in various places in my living room.
 
At the other end of the mantel I placed another salt shaker owl, several carved pieces my brother made for me and a ceramic pumpkin.
 
The small green owl is a salt shaker. 

The wooden owl and the man are carvings my brother made.  The owl was a gift when I told him I was decorating my classroom in owls.  I could not take him to school he had to stay at home. 
 The man is a recent carving from a piece of wood at their lake house. 
These are definitely treasured pieces.
 
The extra tile with the owl I colored in a brighter green and placed him on the end table by my couch.  My original thought was to color the letters the same green but it was too bright for the look I wanted on the mantel.
 
The owl was colored with a sharpie just like the letters.
 

On top of my entertainment center I used the frames from the mantel and turned them on their side.  I then added the silk leaves with sticky tack to the glass.  I place my new porcelain birds in front of the gazebo and filled in around them with other birdhouses and pumpkins.  The birds are also salt and pepper shakers from Cracker Barrel.
 
My new bird salt shakers.  They are soooo cute.

The church was a recent addition.  It is broken on the corner where the leaf is placed.  It is a music box.  We found it a garage sale and my husband's grandparents had one just like it.  It was even broken in the same place.  It brought back many happy memories for my husband.

Simple blessings and simple décor.
 
On the table in my entry way I placed a platter with a real pumpkin and a metal jello mold  and silk flowers.  They sit on an antique platter with die cut leaves scattered on the platter.
 
Arranging just a few items in the same color pallet can be very fun.

Another shot of the FALL tiles.
 
Overall the transformation was done using the same items that are out all the time but with the addition of key color changes and groupings it feels completely different.  So even if it doesn't feel like fall where you are, start digging out those decorations and you might just see the change.
 
Danna